
Microcement is not a paint and not a tile. It is a thin, seamless finish built by hand in layers, and the result depends on what is under it. Start with the decisions that cannot be changed later.
Decide where it goes
Microcement works on bathroom walls, in showers, and on feature walls. A dry wall and a shower wall are not the same project. In a shower it is installed as a complete system, so the decision about where the finish goes comes first.
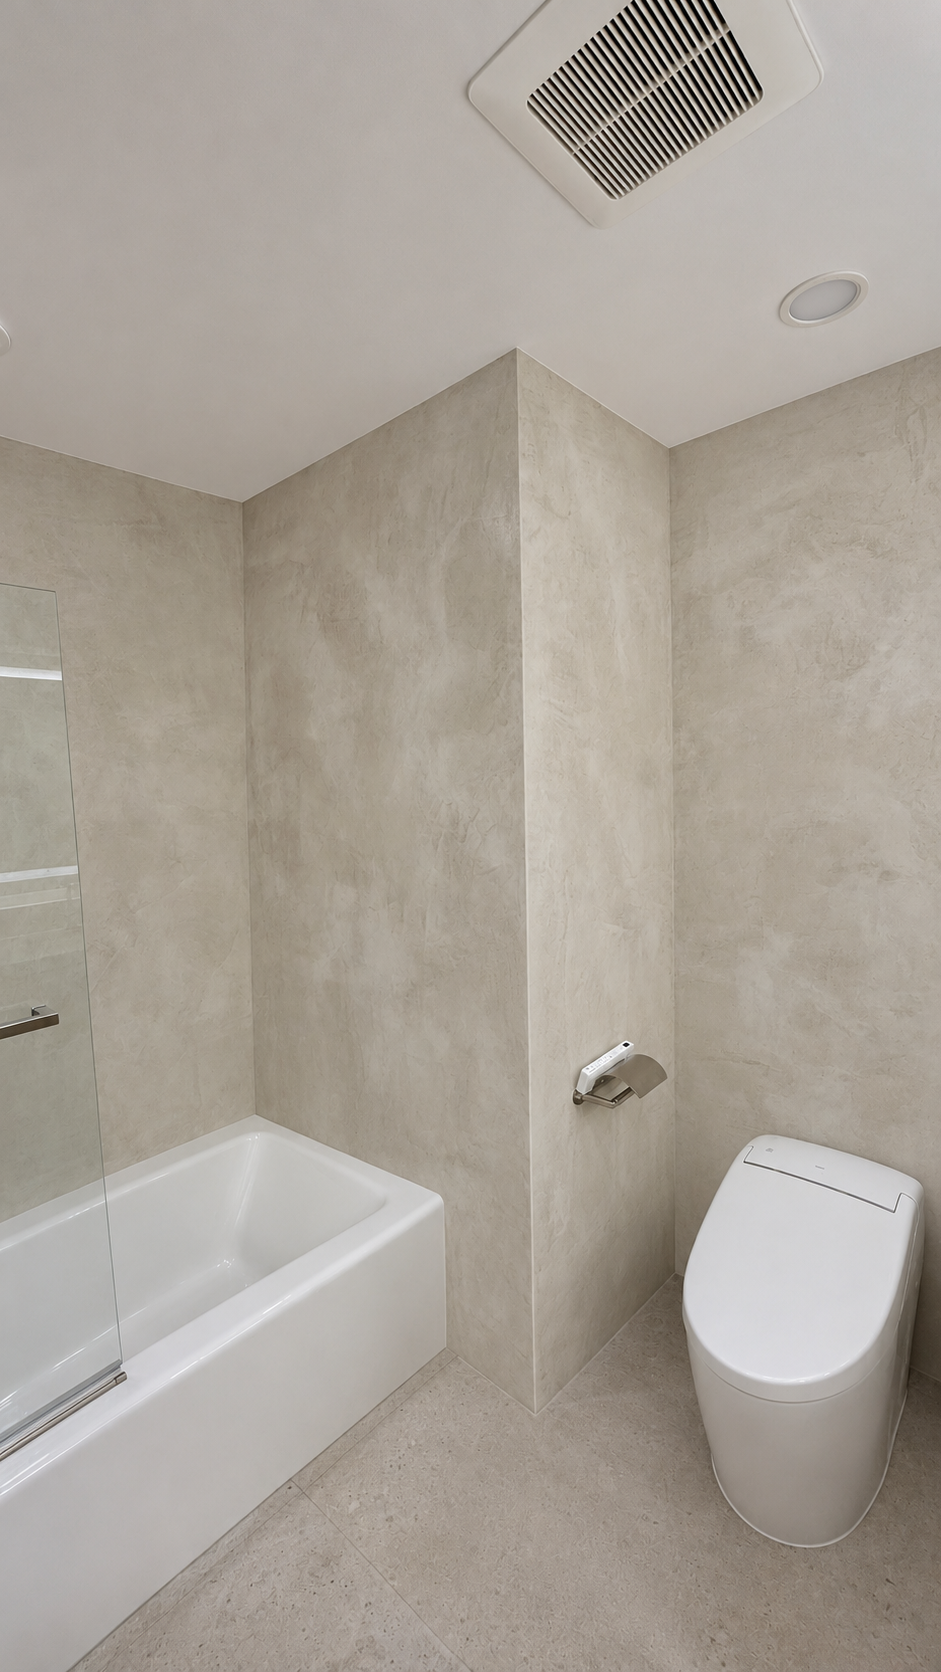
Microcement on the walls around a bathtub. No tile and no grout lines.
Look at a real sample, not a photo
The finish is troweled by hand. The trowel movement stays visible, so every wall is slightly different. That is the character of the material, not a defect. Ask for a sample in your shade and texture, and look at it in the light of your own bathroom before the work is ordered.
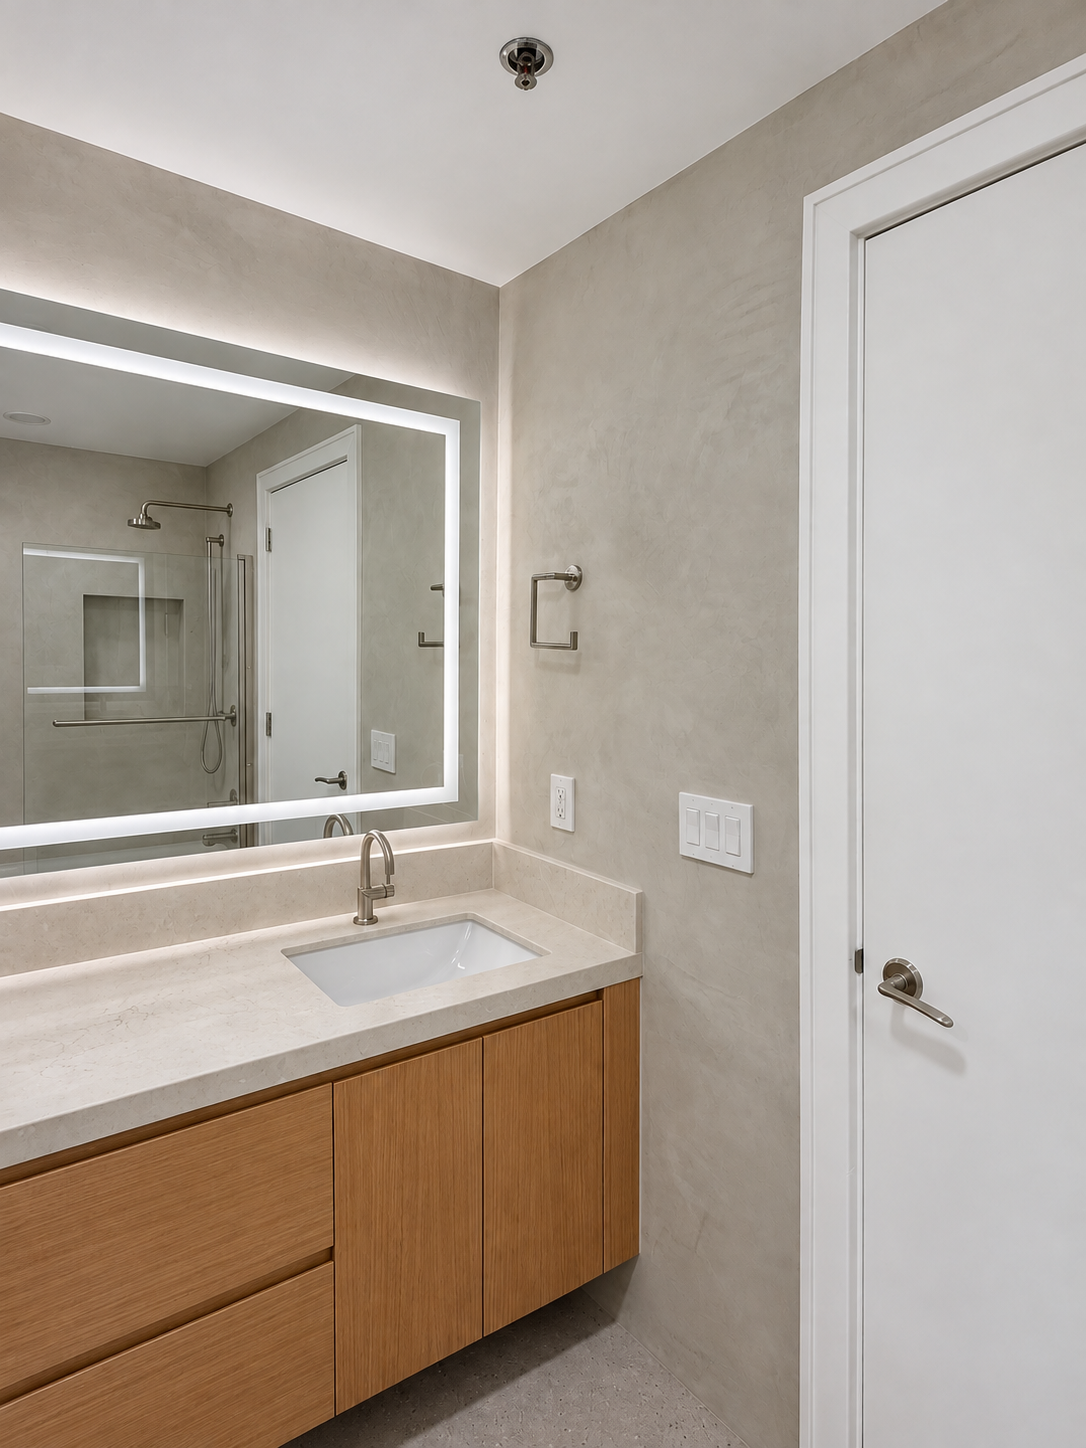
Microcement walls behind an oak vanity. The trowel movement stays visible up close.
Be honest about what you want
If you want a perfectly uniform surface with no variation, microcement is the wrong choice, and it is better to know that now. If you want a calm, continuous wall with no tile and no grout lines, it is a strong option. See the comparison on our Microcement page.
The substrate decides the result
A thin finish follows the surface under it. We do not apply microcement over existing tile: the old tile is removed and the substrate is prepared for the new system.
In a shower, it is a system
In a shower, microcement is not just a decorative top layer. We build the complete system: a moisture-resistant backer, waterproofing, microcement, and a protective top coat, per the manufacturer's requirements and California rules for wet areas. Whoever does the work, ask which system is used and how the wet areas are waterproofed.
Plan the details before the walls are finished
On a seamless wall there are no grout lines to hide a late change. Decide these before the finish starts:
- Niche size and location
- Position of the shower valve and fixtures
- Where the glass will be fixed
- How the finish meets the floor, the tub, and the ceiling
Ask about care
Before you choose, ask how the surface is cleaned, which cleaners are safe for the top coat, and how a future repair would be done. The answers are part of the decision.
What to decide now and what can wait
Decide before the work is ordered:
- Which walls, and whether the shower is included
- Shade, texture, and top coat, on a real sample
- Niche, valve, fixtures, and glass positions
Can usually wait:
- Accessories
- Mirror
- Paint color for the other surfaces
Thinking about microcement?
Send us photos of the bathroom or the wall with rough dimensions. See finishes and photos on our Microcement page, or request a consultation.
By Mikhail Strelkin, QualiBuild